How to Edit a Company Profile
Keeping your company profile up-to-date is essential for generating accurate, compelling tender responses. This guide explains how to edit your existing company profile, including updating basic information and managing documents.
Why Edit Your Company Profile?
Regular Maintenance Benefits
- Current information: Ensure tender responses reflect your latest capabilities
- Competitive advantage: Highlight new achievements and qualifications
- Accuracy: Maintain truthful and up-to-date company representation
- Performance optimisation: Improve tender response quality with fresh content
When to Update Your Profile
Consider editing your profile when you have:
- New documents: Additional supporting materials or updated files
- Recent projects: Fresh case studies and success stories
- Company changes: Updated company name or description
- Improved materials: Better marketing documents or company information
- Outdated content: Files that are no longer relevant or accurate
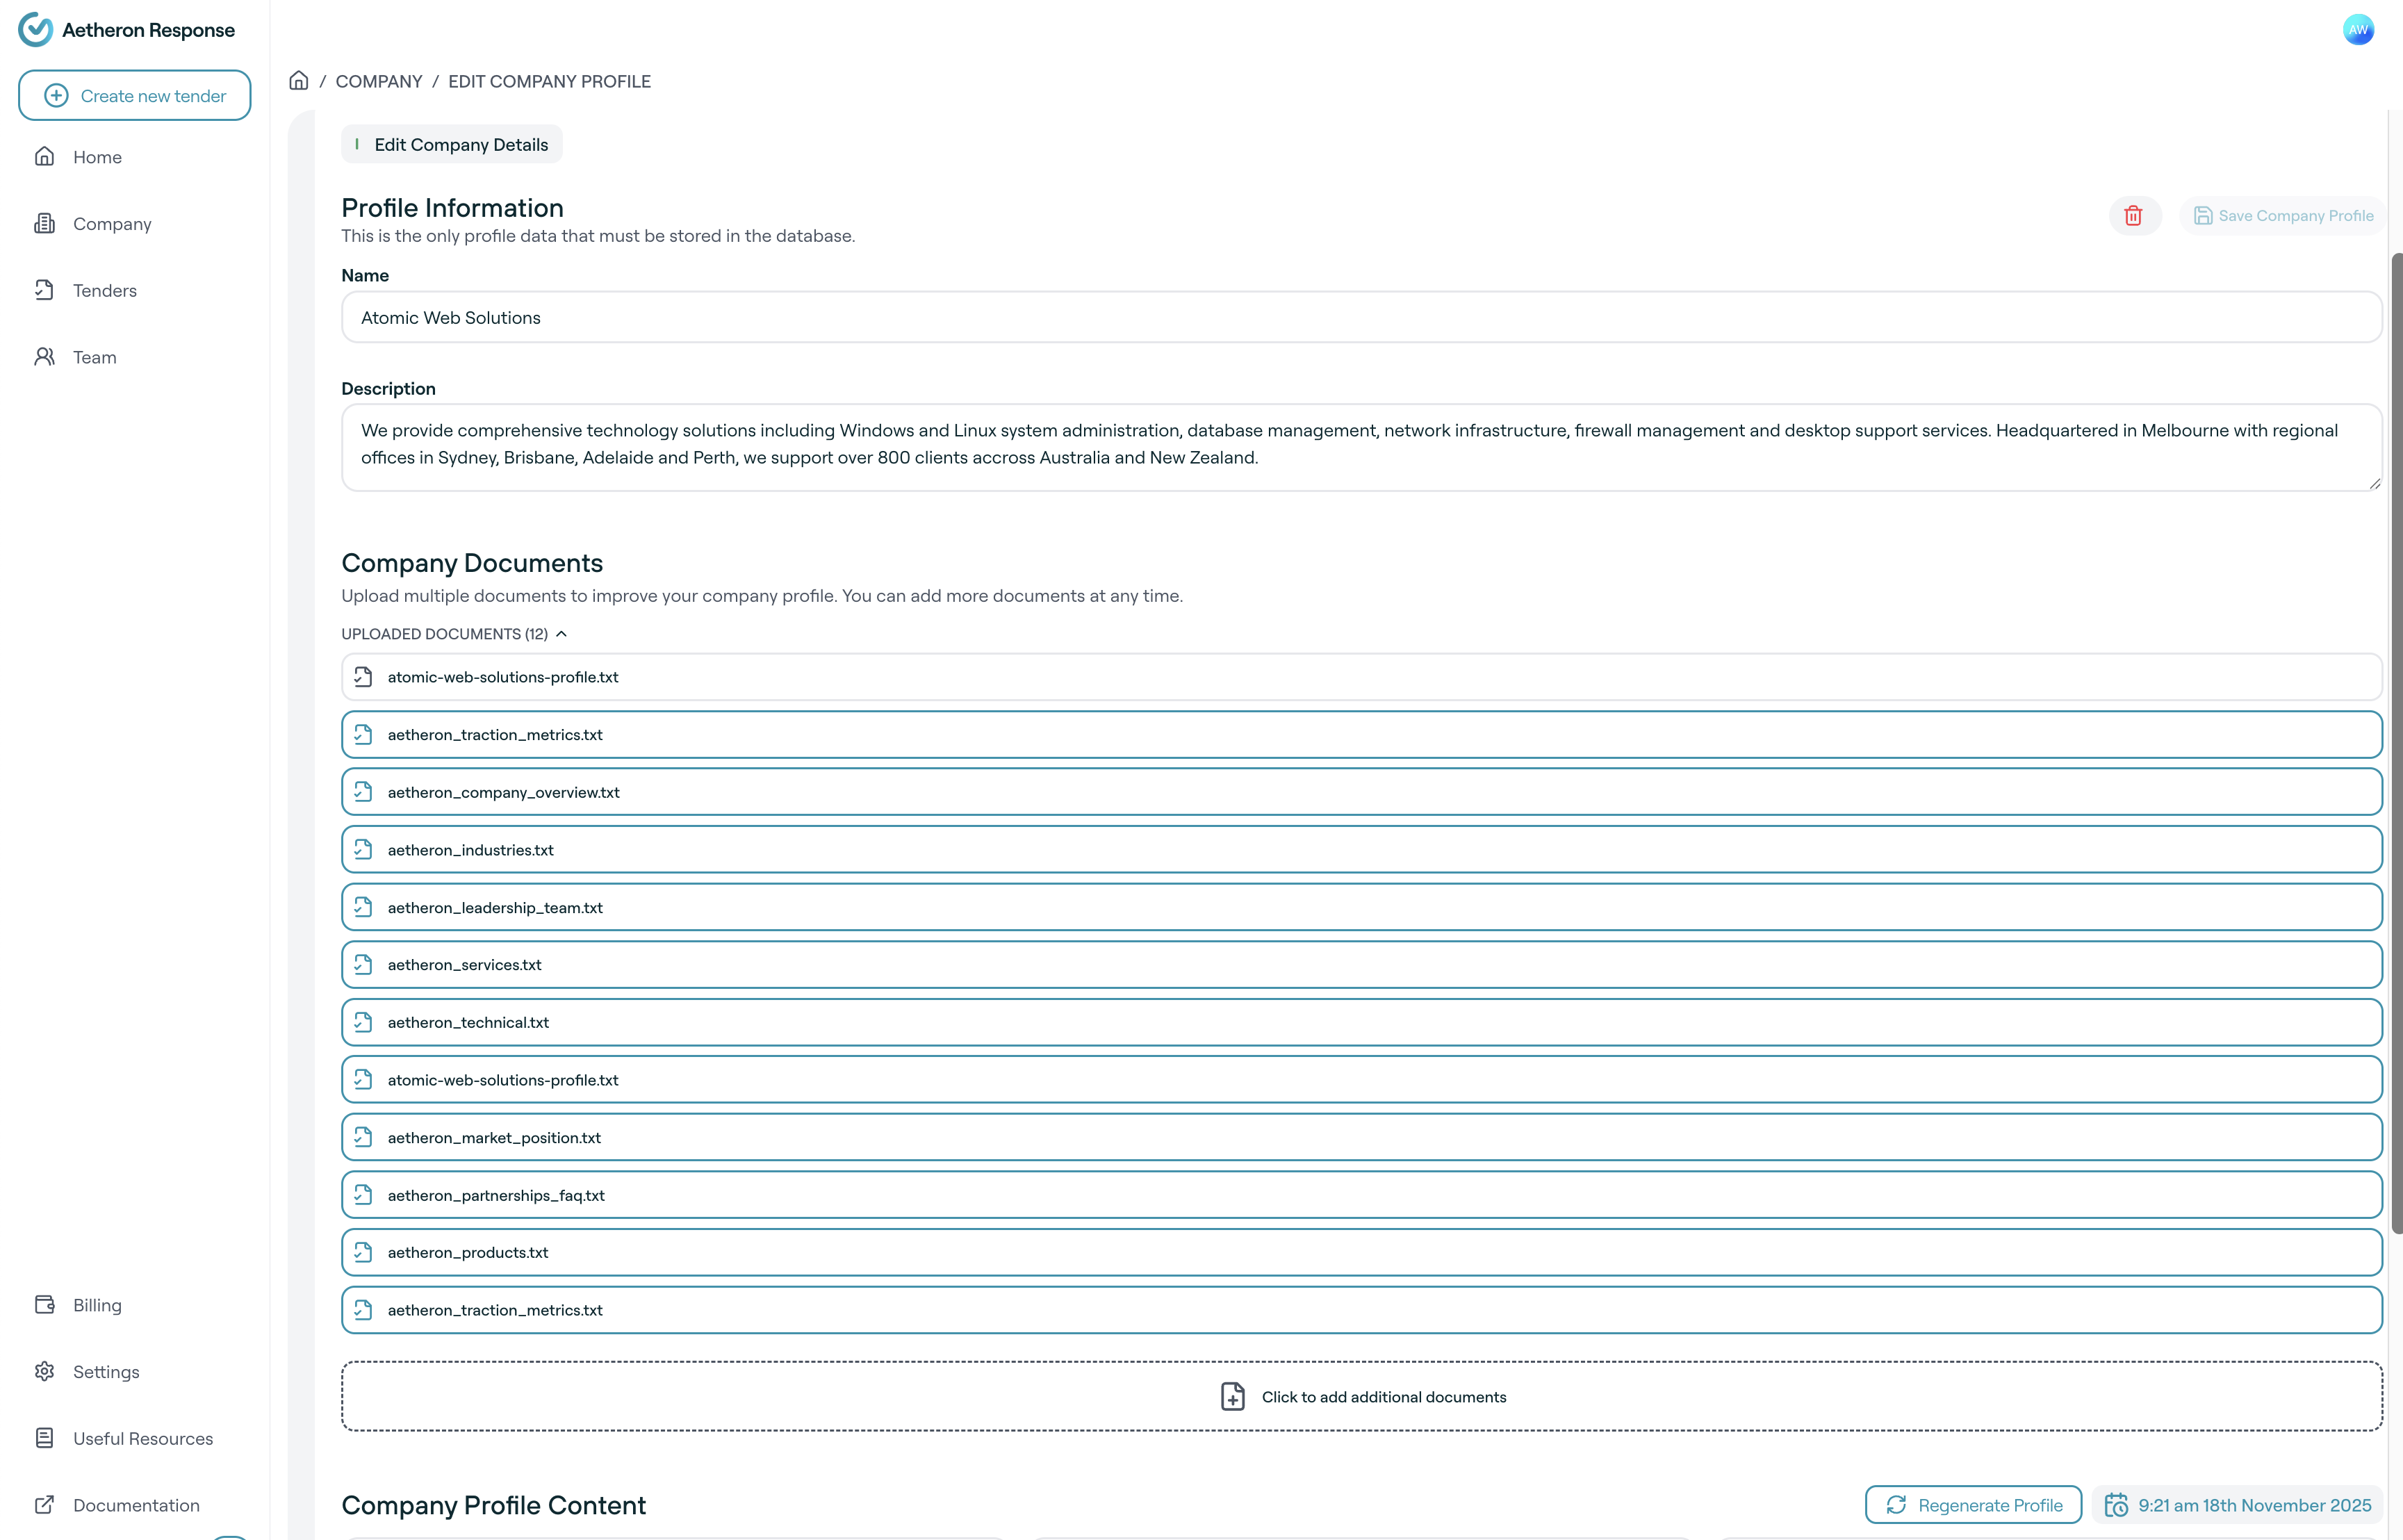
Accessing Profile Edit Mode
Step 1: Navigate to Company Section
- Log into your Aetheron Response account
- Go to Company from the main dashboard menu
- You'll see your current company profile overview
Step 2: Enter Edit Mode
From your company profile page:
- Click "Edit Company Profile" button
- The interface switches to edit mode
- You'll see editable sections and management options
Editing Basic Company Information
Company Details Section
You can update fundamental company information:
Company Name
- Current name: Shows your existing company name
- Edit field: Click to modify the company name
- Considerations: Ensure it matches your official business name
- Impact: This name appears in all generated tender content
Company Description
- Current description: Displays your existing company overview
- Edit area: Expandable text field for modifications
- Best practices: Keep it current, comprehensive, and compelling
- Length: Ensure appropriate length for professional presentation
Saving Basic Information Changes
After making changes:
- Review your updates for accuracy
- Click "Save" to apply changes
- Confirmation message appears when saved successfully
- Updated information reflects immediately in your profile
Managing Company Documents
Accessing Document Management
In edit mode, you can:
- View uploaded documents: See all current company files
- Add new documents: Upload additional supporting materials
- Remove outdated files: Delete documents that are no longer relevant
Adding New Documents
To upload additional documents:
Step 1: Access Upload Area
- Scroll to document section in edit mode
- Click "Add Documents" or similar upload button
- Upload interface appears for new files
Step 2: Select Documents
Choose documents to add:
- Drag and drop: Files directly into upload area
- Browse files: Use file picker to select documents
- Multiple selection: Upload several files at once
- Progress tracking: Monitor upload status
Step 3: Document Types to Add
Consider uploading:
- New case studies: Recent project successes
- Updated certifications: Current credentials and qualifications
- Fresh marketing materials: Latest brochures and fact sheets
- Annual reports: Most recent company performance reports
- New service documentation: Information about expanded offerings
Removing Outdated Documents
To delete old or irrelevant files:
- Locate the document in your uploaded files list
- Click "Remove" or "Delete" next to the file name
- Confirm deletion if prompted
- Document is removed from your profile
Updated 18 days ago